Thank you for purchasing our new N scale passenger car with battery powered LED lighting.
Once assembled, slowly passing the included magnetic wand over the roof approximately 3/4" (19mm) from the non-vestibule end of the car should activate the lights.
The 2 batteries provided within your passenger car should provide your passengers with many hours of light, however at some point down the track the light will fade and the passengers will be in the dark. In order to provide them with light once more, the batteries must be replaced. Please follow the steps below for replacing the batteries:
#1 Remove the roof by squeezing the car side and pulling up on the roof from the sides. A #11 Xacto blade carefully inserted between the roof and the body may be of assistance. Note the orientation of the details on the roof so that it can be re-installed correctly.
#2 Locate the circuit board with the two square black components on it. This circuit board should be on the non-vestibule end of the car. Remove the small screw on the side of this circuit board.
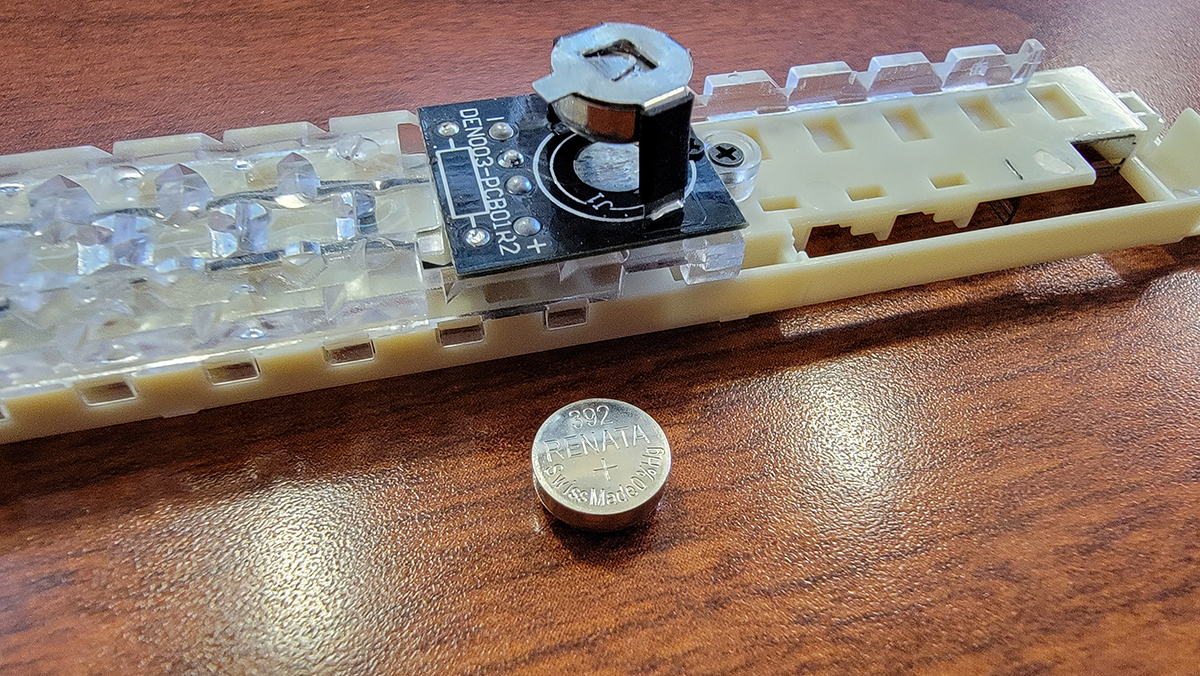
#3 Carefully pull the circuit board upwards by the edges to reveal the battery holder and twin stacked batteries. Note the battery orientation before removing them. The batteries will slide out of the holder if pushed toward the end of the car.
#4 Replace with 2 LR41 (392 size @1.55 volts is a known InterMountain tested replacement type) or equivalent batteries in the same orientation as the previous batteries. The top of the holder is the positive contact and the circuit board is the negative contact. The 2 batteries must be stacked precisely vertical in the center of the holder in order to make optimal contact.
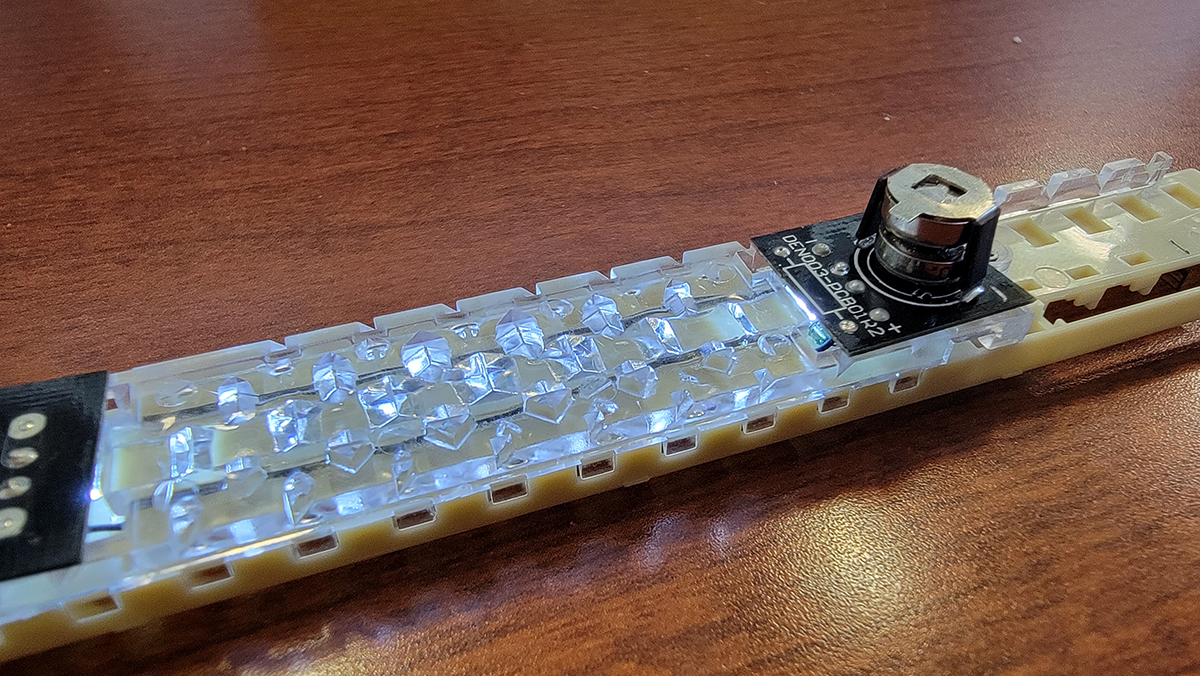
#5 Orient the circuit board so the batteries are pointing downward. Use the magnetic wand to test the lighting by passing it slowly over the small black component near the center most edge of the circuit board. The lights should light. If not, the batteries may have their polarity reversed or are mis-aligned. Another pass of the wand will turn the lights off if they are on.
#6 Replace the circuit board with the batteries down in the cavity they were removed from. This will require the circuit board to be angled as it is re-installed so that the LED clears the clear plastic light bar. Any wrinkled foil can be smoothed out up to the circuit board.
#7 Replace the small screw removed in step #2 that holds the circuit board in place.
#8 Replace roof by snapping it back into place in the same orientation that it was previously.
Slowly passing the included magnetic wand over the roof approximately 3/4" (19mm) from the non-vestibule end of the car should activate the lights.
N Scale Superdome Passenger Cars
The location of the magnet switch in these cars is lower and more centered than the other passenger cars. Please pass the magnetic wand over the SIDE of the car as shown in this photo: Superdome SwitchBattery Replacement - 2 batteries
#1 Remove the clear dome roof. It simply snaps on and off and should snap off very easily.
#2 Remove the dome interior seats. These simply snap into place and can be pulled out from the ends very easily.
#3 Turn the dome interior seats over and you will see the silver battery holder. Note the orientation of the batteries before removing them. The 2 batteries will be installed tightly into the holder so they'll likely require a tool to push them out. Replace with LR41 (392 size @1.55 volts is a known InterMountain tested replacement type) or equivalent batteries in the same orientation as the previous batteries. The top of the holder is the positive contact and the circuit board is the negative contact. The 2 batteries must be stacked precisely vertical in the center of the holder in order to make optimal contact.
#4 Test the lights with the magnetic wand near the circut board where the battery holder is mounted before reinstalling the seats. (Note your batteries may be a different brand and have different markings but can have LR41 or 392 or a similar equivalent on them).
These batteries shown were purchased at Batteries Plus.
#5 Re-install the seats (note that the batteries fit in the large round void in the lower level interior). Then re-install the dome roof.